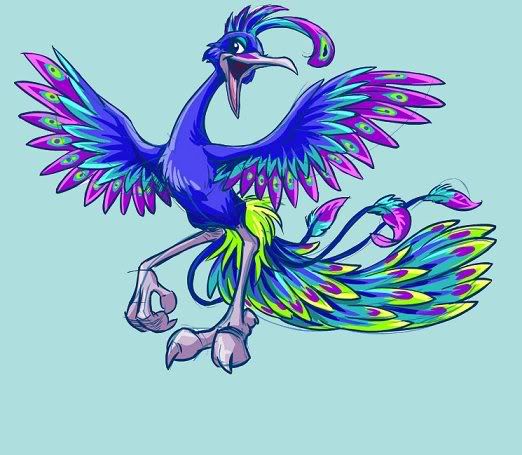
Step One: Pick an Image
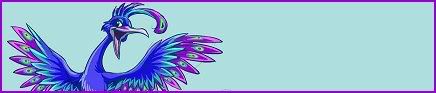
I chose a this lenny picture for neo's sketch section but you can use any picture you want.
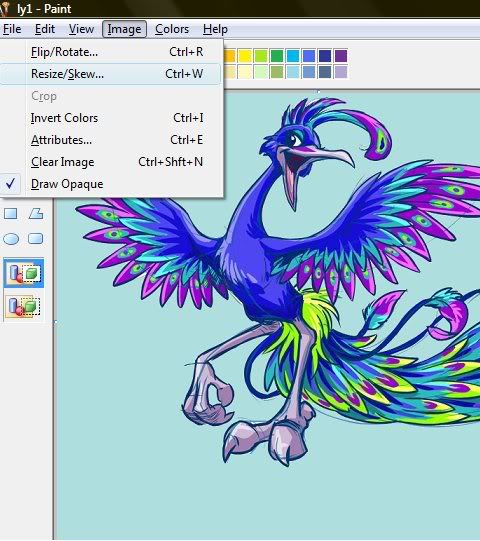
Step Two: Resize Your Image
Resizing images is a handy feature to have. What you do is click Image then Resize/Skew.
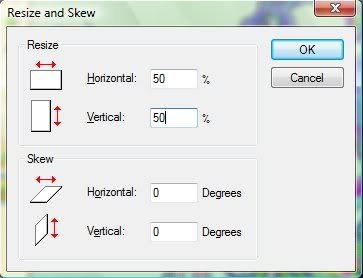
Then you choose how much you want to change it by. Any percentage lower that 100 with make it smaller and anything above will make it bigger. Make sure the percentages are the same, otherwise your image will be stretched.
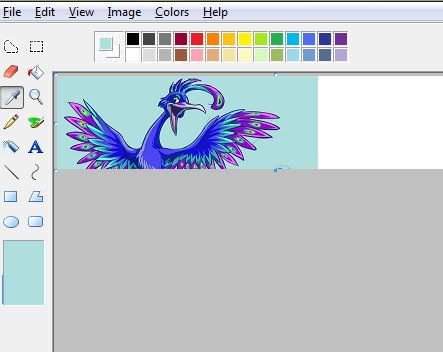
Step Three: Position Image
Next, you need to move the image to the position that you want it. To do this, click the buttons Ctrl and A at the same time. This will select the whole image. Then, click on it and move it to where you want it. Then, click onto the blue dot on the bottom right-hand corner and drag it until it is the size you want.

Step Four: Matching the Background Color
The next thing you want to do is make sure the background is all the same color. If it is different (white is naturally the background color unless you already changed it by right-clciking with the eydropper) then you need to click the eyedropper tool and click on the color you want to change it to. Then click the Fill Flood tool (paint bucket icon) and click the area(s) you wish to change.
Step Five: Adding a Border
Next, you will want to add a border. Borders generally make banners look cleaner and more professional so it is good to add one. To do this, pick the color you want the border to be, then click on the square icon. Three squares will appear. choose the first one. Then choose your border width. On older versions of Windows, you will have to click on the line tool (right above the square) and choose the width there. I chose the second one in this case but it is up to you. Then, making sure you have the square tool selected, click on a corner of the image and drag the border to the opposite corner.

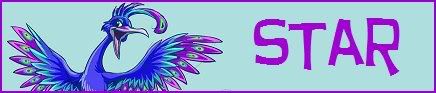
Your image the should look something like this:
Step Six: Adding Text
First pick the color you want the text to be, then click on the Text Tool ("A"). Select a font and size, then click on the image. Make sure the selection is transparent (the last option on the tool bar that appears when using the text tool) then type in what you want it to say. Here's what mine looks like:
Step Seven: Adding Extras
Congratulations! You now have a banner! If you want to add more to it, however, you can do some of these little designs.
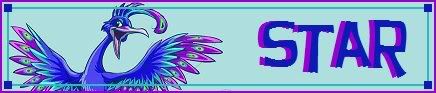
In this banner, I added another text over the original. To do this, pick a different color and just position the text over the first one, leaving just a bit peaking out on the side. You can create shadows with this effect as well. Then I also added an additional border by using the paint tool to put squares in the corners and then drawing a line from each sqaure to the next. You can experiment and create your own designs and patterns using this program now! =)